So these are the test pistons I made for 1" Schedule 40 PVC pipe. Ultimately, later in life with an air compressor, I would think about using this to make low cost custom pneumatic actuators, so for right now, they don't have an explicit purpose besides testing out the three features used here, being O ring splicing, O ring to Printed Plastic sealing, and Printed Plastic threading.
http://www.thingiverse.com/thing:717946
So first, here is my progression of tests.

So the first one, I tried with just (2) 60 degree vees cut out for the O rings, and wrapped it in teflon. This was maybe 3/4" tall. By the last print, I lengthened the piston to maybe 1 1/2" tall so that the piston would stay aligned more in the cylinder. I also added wrench flats to make it easier to tighten against the rod. By the last print, I made the connection to the rod blind only on one side, so I don't have to worry about the threads leaking fluid. The below is the cross sectional design for it.

If it was guided somewhere else, this will only have the one O ring.
Anyways, I left it in a cylinder with about 10" of water above it for 24 hours, and by the end, no leaks whatsoever. So I think O-ring seals on plastic parts work just fine. I had no problem with hand-tapping the pistons to 1/4"-20 threads, so that was successful.
However, I did notice the plastic starts retaining water through its walls. So, I think to combat this in the future and ensure it doesn't leak, I should coat the piston in a very diluted mixture of Plastidip or another water sealing compound. I'll try this another day.
Also, the O ring splicing Jig I printed off worked decently well. See below
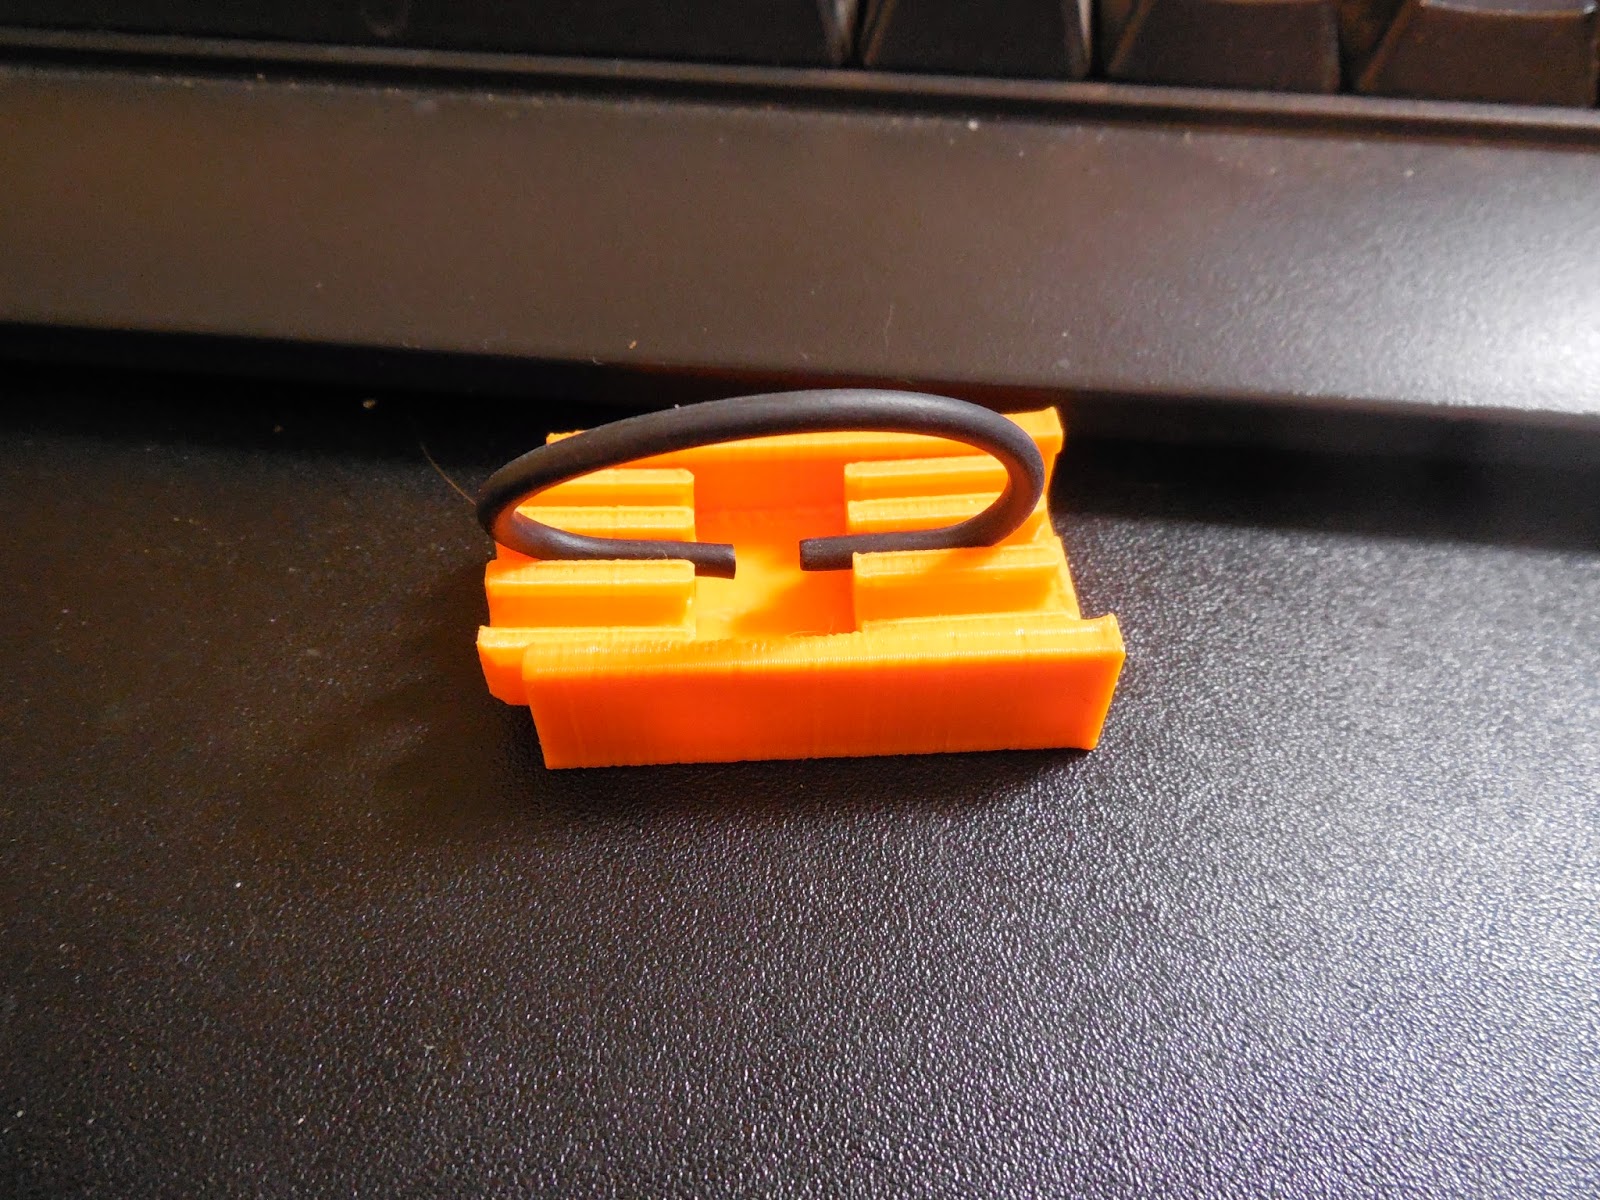
Step 1. Cut O ring cord to length (70mm shown in pictures). Try to keep cut as square as possible.
Step 2: Press ends of O ring cord in groove as shown.

Step 3: Apply small amount of Super Glue to the O Ring joint, then slide the carriages closer so the O Ring is butted up. Use a Q tip to draw away any excess glue.

Step 4: Let dry, and file any rough edges away from joint.
Threading was decently easy as well. I had to keep pressure down on it to avoid stripping, but hand tapping isn't that bad.

I will test the piston someday in the future to see what kind of pressure it can handle, but I don't know yet. This was more of a proof of concept for myself.
Thanks!
No comments:
Post a Comment